

Today for our process post we have the lovely Siobhan Gallagher stepping in to show us her process, and explain how she works between Photoshop and Illustrator to create beautiful, textural works of art. Siobhan is an illustrator/designer from Halifax, Nova Scotia and a student of NSCAD University. We love the playful sense of style and color in her illustrations, and we're so happy that she has taken the time to share how she works. Without further adieu I'll let Siobhan take it away!

1. I mock up in pen how I want the illustration to end up looking like.

2. After scanning my drawing, I drop it into Illustrator and lock it in its own layer so I can comfortably draw over it using the Pen Tool, cleaning it up and making it more symmetrical.

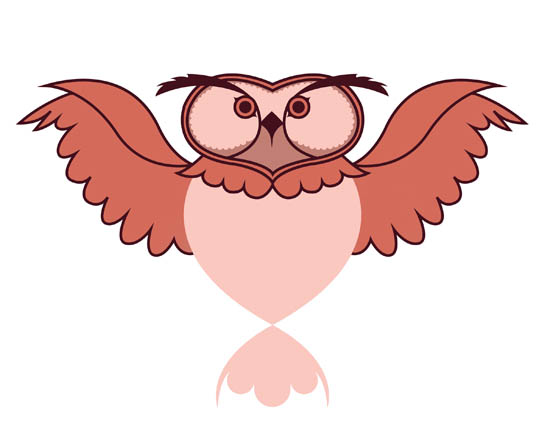
3. Once the figure looks the way I want it, I start filling in colours and playing around with whether or not I want it to have outlines filled in or just solid blocks of coloured shapes. For this li'l owl, I figure I'll do both.

4. Once the colours are filled in and consistent in Illustrator, I'm ready to bring it into Photoshop to add texture. This Illustrator file consists of about five layers so I can have more control over what I want to select.
Pro Tip: If you place it into Photoshop as a smart object you can always double click the layer and edit the image in Illustrator. This allows you to make quick tweeks. This is especially helpful when messing with color!
5. Sometimes, once I bring it into Photoshop, I realize I hate the colours I originally chose and decide to switch them up a bit, selecting the colours I want changed with the Magic Wand Tool and filling them in with another colour.

6. The way I add texture to my illustration in Photoshop is very simple: I select whatever colour I want to add a texture to using the Magic Wand Tool and add textures to that space using my mini library of different brush textures. This is kind of a paint-by-numbers technique. There are tons of great brushes you can find in different online resources or make yourself but I have a specific set I like to use most.

7. I try to keep my colour palette consistent so I took the colour I used for the owl's outline and used that shade for the texture in his neck and upper wing feathers.
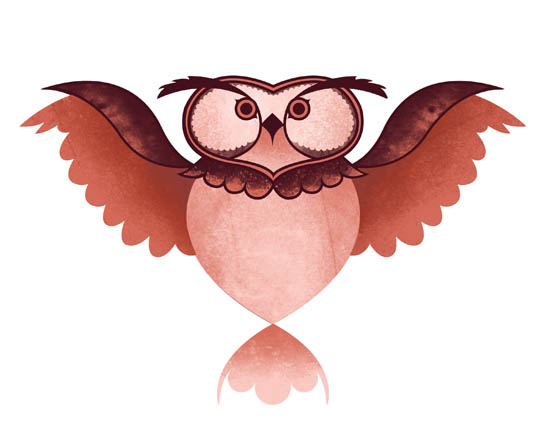
8. After adding textures to all colours, it ends up looking like this guy!
9. I wanted to add a background to my owl here so I saved my .psd file and dropped him back into Illustrator, where I'm most comfortable. After copying and pasting circles slightly on top of one another in an even and rotating order around the owl, I selected all circles and went to Pathfinder > Shape Modes > Unite, which joins all the circles together where each piece overlapped and creates one big shape.
Pro Tip: If you want to paste a Photoshop file back into Illustrator with no background - delete the background from the Photoshop file, and save it as a PDF. When done properly this the PDF can be brought into Illustrator with a transparent background!

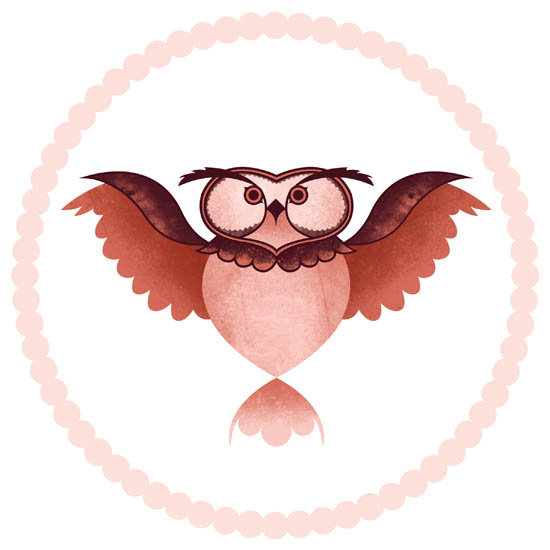
10. After deleting this big shape's inner points, I have a prettier, flowery shape in the background.
11. And finally, I added a grain effect to my flower shape by adding a gradient to it and then going to Effect > Texture > Grain to play around with how much density and grain worked best. To top it off, because I like my owls girly, I added circles to each of the flower's petal shapes, resulting in what I like to call my Pink Moon Doily Owl (catchy, no?). And c'est fini!
To view more of Siobhan's beautiful work you can visit her website and blog! A big thanks to Siobhan for sharing her process with us. If you have any additional questions feel free to leave them in the comment section!
Nice tutorial, thanks for all of the info
ReplyDeleteThanks for the Grain tip in #11! Great work :)
ReplyDeleteGreat tutorial! It's really fascinating to see others process. :)
ReplyDelete