
Kyle: Hello there! I am flattered to be asked to explain my illustration process. I feel like I don’t really have a super straightforward way to working, but I think it works for me and hopefully I can explain it clearly. I mainly use Photoshop and a Wacom tablet, along with some ink or graphite for texture or line work occasionally. I can be pretty impatient sometimes when it comes to doing things, so I try to work fairly quickly. Having too many layers can get confusing and I hate having to figure out which layer is which and draw on the wrong layer so I also try my best to use as few layers as possible. This is a food drawing I did kind of as a Valentines Day thing. It’s a sexy hamburger.
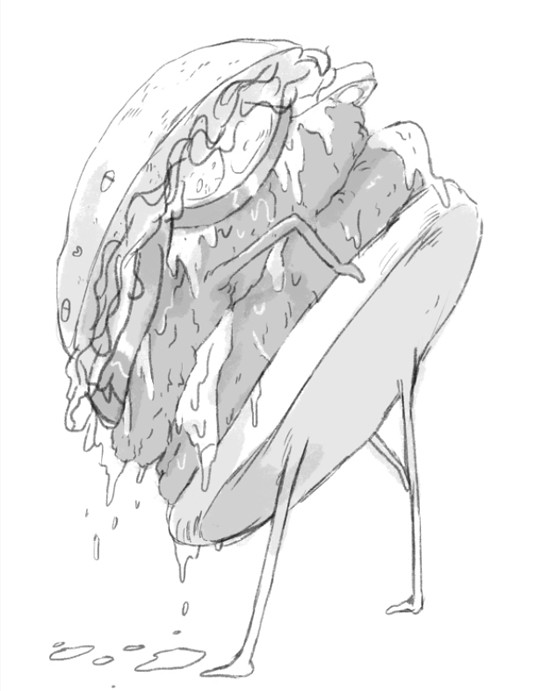
1. First I sketch it out in Photoshop. Hurray!
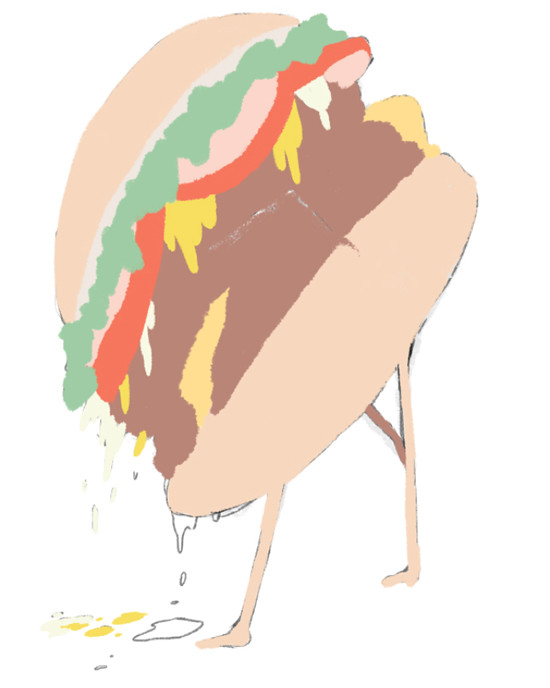
2. Then I block in the base colors that I want, changing the hue and such as I go. A huge help while doing this all on one layer (or in a lot of instances) is the behind option for the brush tool. It basically does what it means, and lets you draw behind the things already on the layer. I feel like it is slightly unused/missed by a lot of people? Maybe? Anyways, it’s a neato little thing.
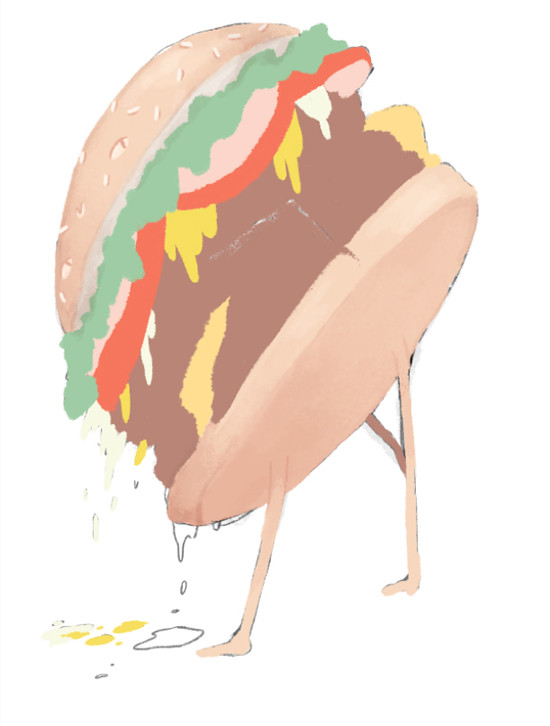

3. After that I clean up the edges and start to throw in some details on this sexy burger. I basically just lower the opacity and build up the color and such.

4. Once I got all the details in place and to a point to where it feels done, I then add a texture layer using a texture brush (http://chriswahlartbrushes.blogspot.com/). I just quickly draw it on there, lightly erase in some areas and then mess with the layer settings (I did overlay for this).
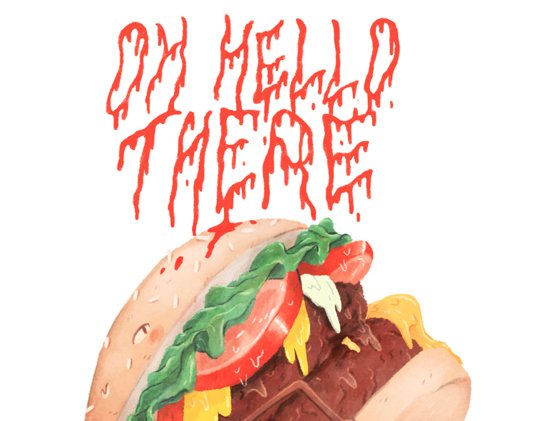
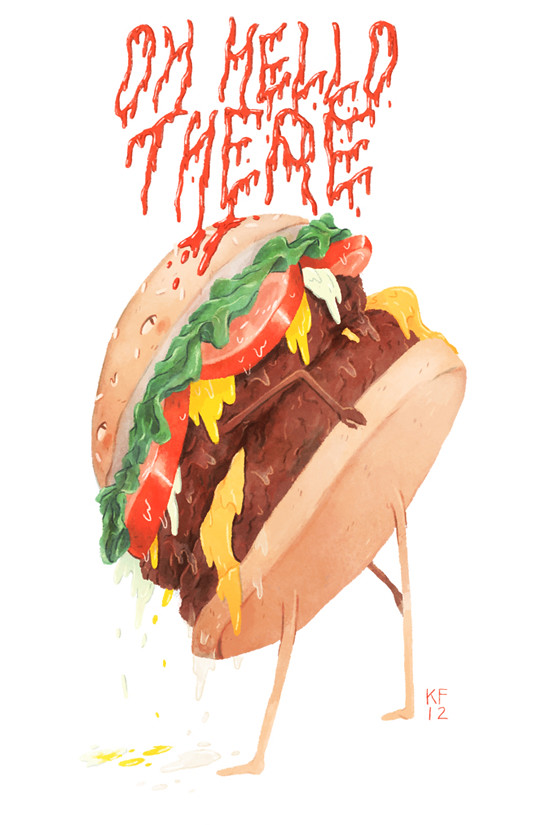
5. I figured some words would be neat, so I made the canvas larger and then moved the burger down a bit so the letters would fit. I wanted it to be like ketchup, so I made the letters all goopy and gross. After that I look at each area and clean up some areas and fixed some minor things that were bothering me.
6. And… now it is done! Huzzah! I don’t really think about my process too much, I just kind of draw and such, so this was interesting for me to explain it step by step. Thanks for reading, hopefully that was somehow helpful!
Check out more of Kyle's work on the web: Portfolio, Blog, Tumblr, Twitter
LOVE the process posts! This one is particularly awesome - can I ask about the whole 'painting behind' option on the brush? What does this mean? I'm severely intrigued. I may just go 'google' it...
ReplyDeleteman, Kyle, that was definitely helpful! i had no idea about the whole texture over the whole image thing! i'm only a student..so that sorta blew my mind. :) thanks!
ReplyDeleteSteph! I had the same question, and googling it was confusing - but it's actually super simple! As long as you're on a layer that's not the background you can select the brush's 'mode' from the brushes panel (it's the same place where you would choose dissolve, overly, or multiply). Then you can paint the way Kyle described!
ReplyDelete